New product applications
Add a new product application to a profile to start the onboarding process.
The appropriate tasks are added to the product application. As the product application progresses, you can update the tasks.
If the profile doesn’t meet the requirements of the tasks, the product application can be rejected. If all tasks are passed successfully, the product application can be approved.
One profile may have multiple product applications open at the same time.
The product application’s risk level is assessed
The product application process starts when tasks are created.
The product's risk model is applied based on the product application. If the product has separate risk models for individuals and companies, it uses the one that matches the profile's type.
First, the product application’s total risk score is calculated by checking the profile’s details against the risk factor rules in the product’s risk model. Learn more about risk models.
If the profile data needed to match conditions of a required risk factor cannot be found, for example, if some of the profile’s details are blank, the status of the product application becomes Requires risk score until a user provides the missing data. Once a user provides the missing data, the risk score is calculated, and the product application continues automatically.
Next, a risk level is assigned to the product application based on its total risk score, for example, Low risk, High risk.
Once the risk level is applied, you can see it next to the product application in the Risk score section of the profile.
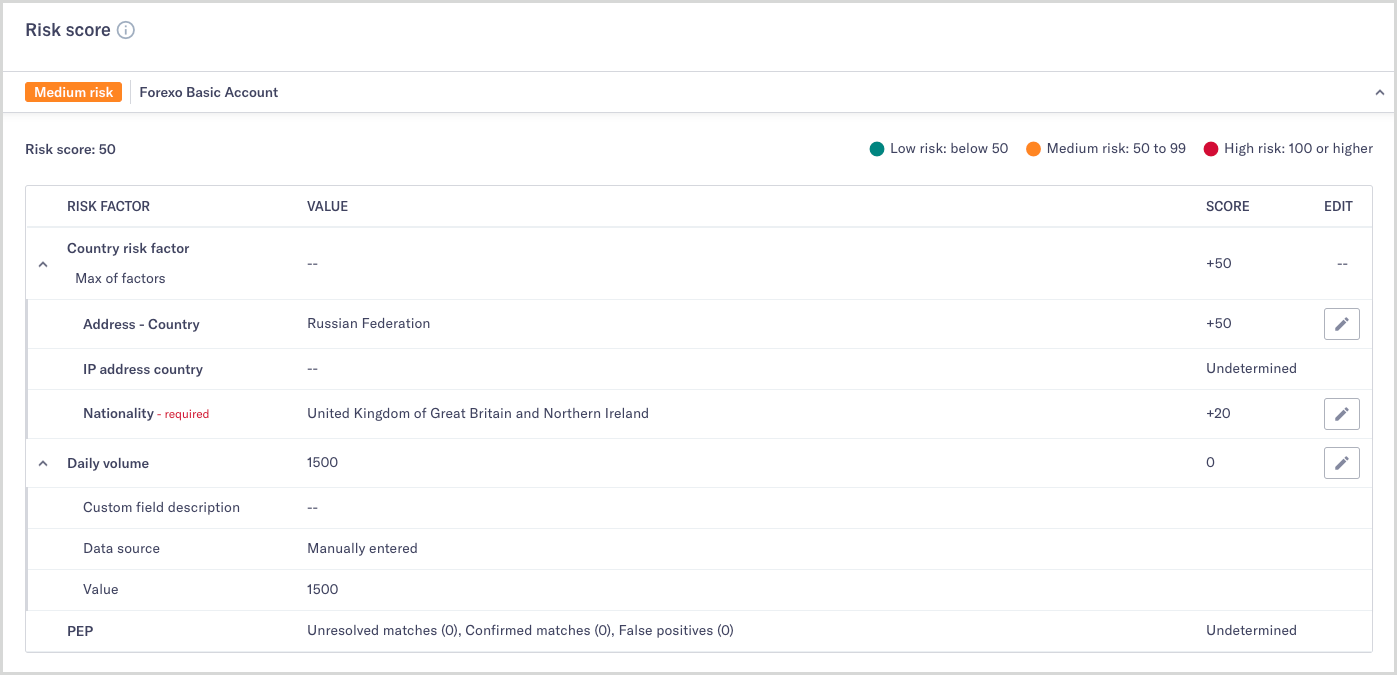
Every product application has its own risk level. For example, a profile may have one product application that’s low risk and another that’s high risk, depending on the risk models used for the products.
Tasks are created
The product’s smart policy is applied to the product application, creating tasks. If the product has one smart policy for individuals and another for companies, the one that matches the profile’s type is applied.
If a risk model is assigned to the product, the smart policy first checks the application's risk level before taking further action. You can configure the smart policy to:
Automatically reject applications based on risk level: If the profile matches a risk level you’ve specified, the application is rejected automatically.
Assign tasks based on risk level: The profile is assigned the tasks you’ve specified for that application risk level.
If no risk model is assigned to a product, the smart policy provides a set of tasks that are applied to every profile making a product application.
Company profiles may have tasks with associate smart policies. Any associate smart policies are applied now. The tasks specified in the associate smart policies are created on the profiles of the relevant associates.
Tasks for all of the profile's product applications are displayed under Due diligence tasks. To see the tasks for a specific product application, select it from the profile's Product applications.
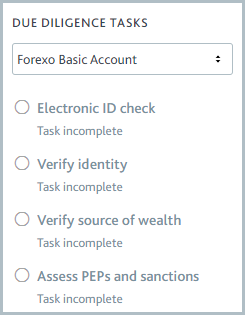
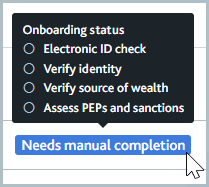
When you define smart policies, you can choose to have two smart policies apply the same task. If a profile already has a task as part of another product application, it is not added a second time. You can also see a product application’s outstanding tasks by hovering over the product application’s status on the Profiles tab.
Automatic checks are performed
The product’s smart policy creates any checks specified for the tasks. Buttons to run the checks are displayed on the tasks.
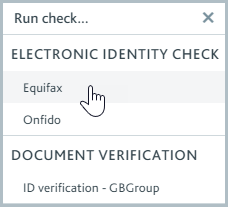
If any checks are configured to run automatically for new product applications, these are run now and the results are displayed on the task.
If the product has associate smart policies that include checks configured to run for new product applications, those are also run now and displayed on the tasks of the associates’ profiles.
Successful checks are marked Passed and unsuccessful checks are marked Failed.
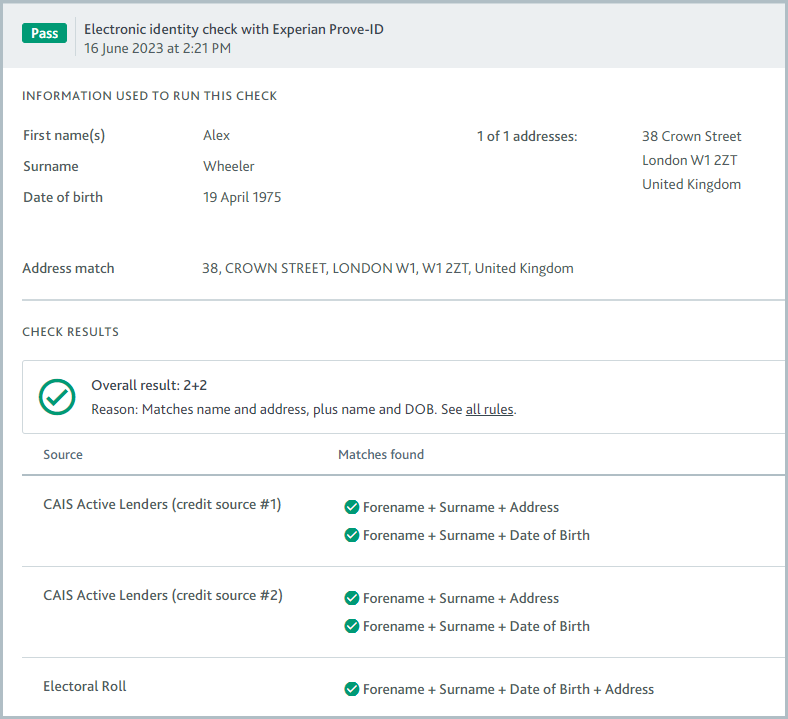
Checks that could not be run because of an error with Passfort or a data provider are marked Error.
Tasks are passed/failed
The smart policy determines whether tasks are passed automatically or manually.
Automatically passed tasks
The smart policy can specify that tasks with checks performed automatically are passed automatically as soon as one check passes. Any tasks with this specification and a Passed check are now marked Task passed.
Tasks with an associate smart policy are only marked Task passed when the associates of the company are approved. Each associate smart policy decides how many associates, what percentage of associates, or what types of associates need approval for the task to be marked as Task passed.
The indicator for passed tasks is a check mark.

Manually passed tasks
All other incomplete tasks must be passed manually. The indicator for tasks that are not yet complete is an empty circle.

The actions you take to pass the task depend on the nature of the task as well as your company’s compliance policy. You might:
Review information obtained from checks.
Complete a task form.
Upload files, for example, a PEP declaration form, to the Task notes.

Record conversations or actions that took place outside of Passfort by adding a note to the Task notes.
Once the task is complete, click and select . The task is marked Task passed and its indicator displays a check mark.

Tip
To get the job done faster, select to mark the task as passed and jump to the next incomplete task. If all tasks are complete, the Applications section is displayed so you can approve the product application.
The product application is approved/rejected
A product application may be approved or rejected automatically according to the product's smart policy. For example, your smart policy may be configured to approve the product application automatically as soon as all tasks have passed. Check the product application's recent activity to see when and why it was approved or rejected.
If you're not ready to approve or reject the product application, for example, because the application needs to be reviewed, you can assign it to a colleague or team. To assign it, select the product application name from the navigation options and select the button that says or . The colleague or team members will receive a notification to let them know the product application's with them.
Automatic product application approvals
If the smart policy is configured so product applications are approved automatically once all tasks are passed, the product application is given the Approved application status.

If you have Risk configured, you can configure the smart policy so product applications are rejected automatically for specified risk levels. To learn more, see Tasks are created.
Manually approve/reject product applications
If automatic approvals are not configured, the Application status is displayed as Ready for decision, indicating that you must manually approve or reject the product application.
If you think the applicant should have access to your product, approve the product application. You can only approve a product application when all tasks are passed.
Once a product application is approved, either automatically or manually, it starts the monitoring stage.
If you think the applicant should not have access, reject the product application.
Profiles that only have rejected product applications are not displayed by default on the Profiles tab. To see them, filter your view to include the Rejected status. Learn more about filtering and sorting profiles.