Add an SSO user
The instructions here describe how to add a new user with SSO enabled. When the SSO user first signs in, they'll be able to access the areas of your account according to their roles. If you have not set up a link between your identity provider groups and Passfort team, the user will not be able to access any area of your account until you assign roles manually.
Note
Users can only sign in with SSO when you've purchased SSO as an optional feature. To learn more, contact your account manager.
To add an SSO user:
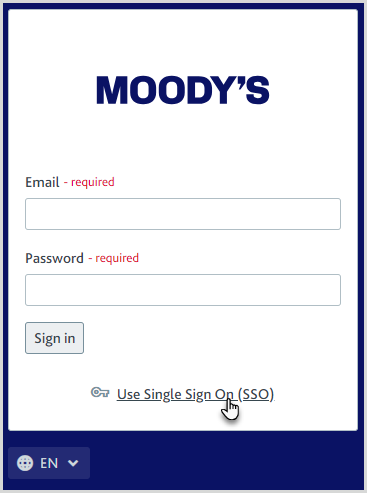
Go to Passfort's sign-in page.
Select .

Enter their email address.
Enter their password.
Assign roles automatically
To assign roles to SSO users automatically, link the groups on your identity provider to teams in Passfort and add team roles.
When an SSO user creates an account in Passfort, they'll be added to any teams linked to their identity provider groups and assigned the team roles accordingly.
Each time the user signs in after that, their teams will be updated to reflect any groups they've been added to or removed from on your identity provider.
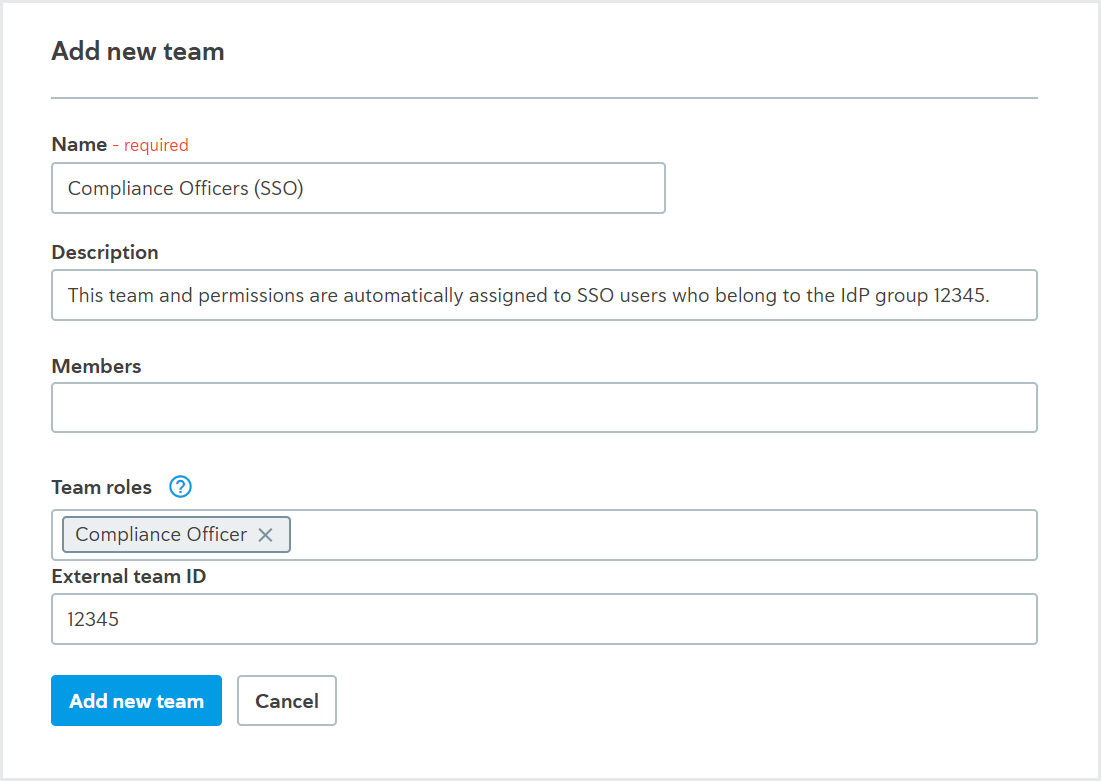
To create a linked team, follow the steps to add a team and ensure you include these options:
In the External team ID field, add your identity provider group's ID or name. Note that these are case-sensitive.
In the Team roles field, add the roles you want to assign to users from the identity provider group.

Assign roles manually
To manually assign roles to a user that are independent of a team:
Go to > .
Select the user.
Add the roles to the User roles field.
It is not possible to assign teams via the Team roles field from here. To manage teams, see the steps for assigning roles automatically.