Tutorial: Create custom profile views and share them with your organization
A profile view determines which of your Product applications are displayed on the Profiles page.
In this tutorial, we will create a library of profile views and share some with other users in your organization.
We are creating the following views:
Product applications assigned to you
This view shows all open product applications that are assigned to you.
Open the tab.

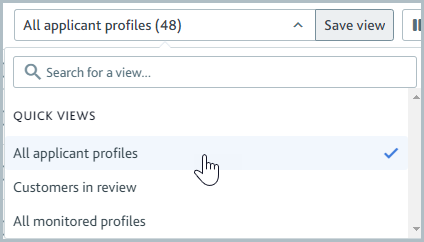
Open the views drop-down and select the All applicant profiles view from the Quick views section.
Select the drop-down.

For the Status filter, open the drop-down and select and .
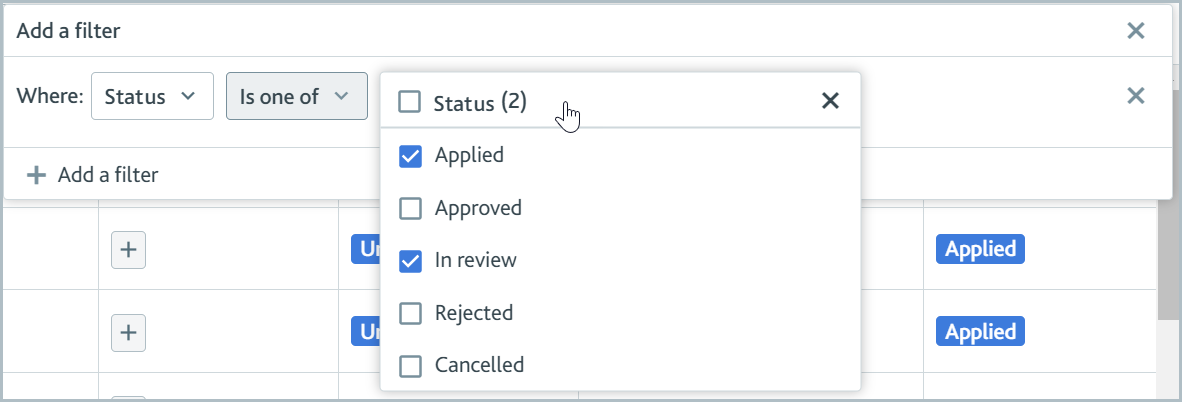
Select to add a second view filter.

Set the filter to Is and select your username.

Select and enter Applications assigned to me in the View name field.
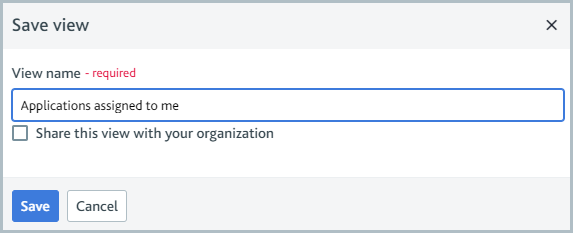
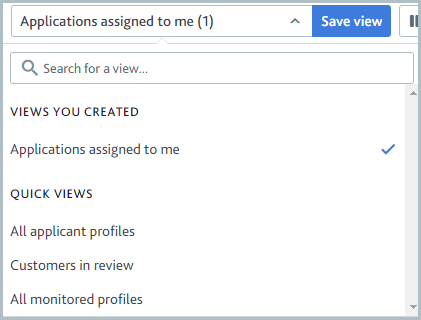
Select . Your new view appears in the Views you created section of the views drop-down.
New US company product applications
This view shows new product applications from US companies, with the most recent applications displayed first. We will share this view with all users in your organization.
Open the tab.

Open the views drop-down and select the All applicant profiles view from the Quick views section.

Select the drop-down.

Select to add a second view filter.
Set the filter to is .

Select Add a filter to add a third view filter. Set the filter to is one of .
Select the drop-down.

Select and sort by Creation date, Newest first.

Select and enter New US company product applications in the View name field. Check .
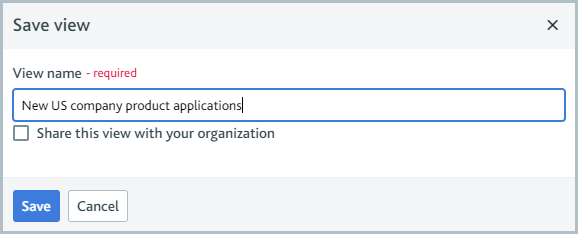
Select . Your new view appears in the Views you created section of the views drop-down.
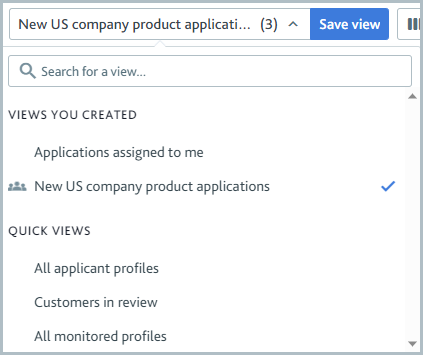
The
 shared view icon shows that the view is shared with your organization.
Unresolved PEP or sanction matches
This view shows all monitored or new product applications with unresolved PEPs or sanctions matches. We will share this view with all users in your organization.
Open the tab.

Open the views drop-down and select the All applicant profiles view from the Quick views section.

Select the drop-down.

For the Status filter, open the drop-down and select , , and .
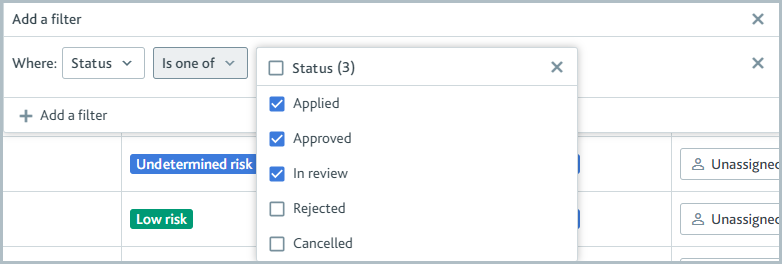
Select to add a second view filter.
Set the filter to and check the and filter options.
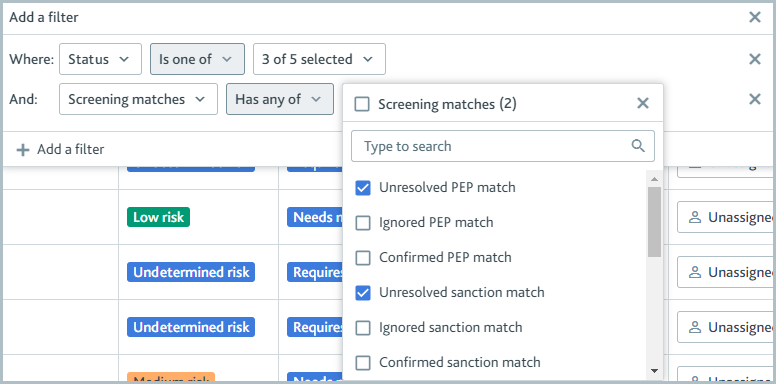
Select and enter Unresolved PEP or sanction matches in the View name field. Check .
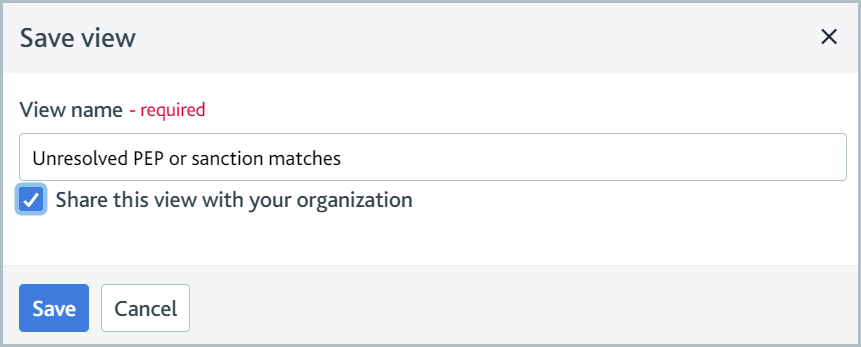
Select . Your new view appears in the Views you created section of the views drop-down.
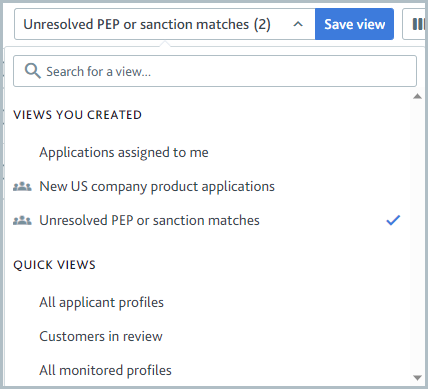
The
 shared view icon shows that the view is shared with your organization.