Work with custom views
Custom views are Profiles views that have been set up by you or that have been shared with you.
Save a custom view
To save a view so that you can apply it at any time:
Apply your custom filtering, sorting, column selection, and column order.
Select next to the drop-down to apply a view. The Save view dialog is displayed.

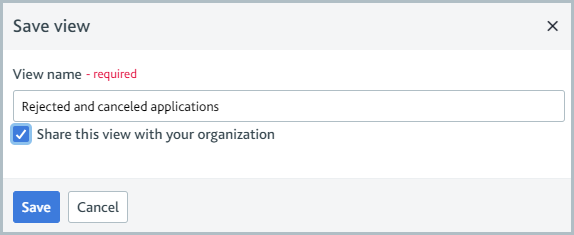
Name the view. Choose the share option if you'd like to share this view with everyone in your organization.
Select . Your options are applied, and the view is saved in the drop-down.
Your custom views are only visible to you unless you share them.
Edit a custom view
To make changes to a custom view:
Apply your changes to your custom view's filtering, sorting, column selection, and column order.
Select next to the drop-down to apply a view. The Save view dialog is displayed.

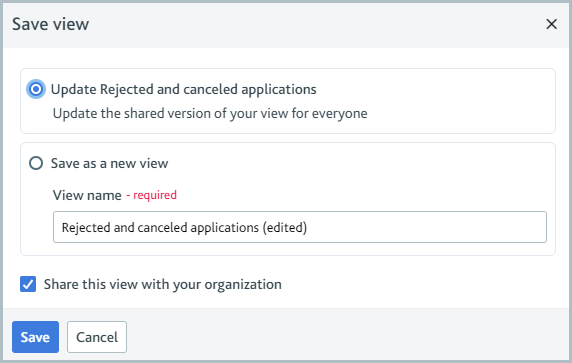
Select the option to update your custom view for everyone. Select to save your changes as a new view.
Select to apply your selected option.
Rename or delete a custom view
Hover over the name of your custom view in the drop-down to view the additional option icons for that view.

To delete one of your custom views, select the Delete  icon. You can only delete views you have created, not views that have been shared with you.
To rename a custom view:
Select the Edit name
 icon.
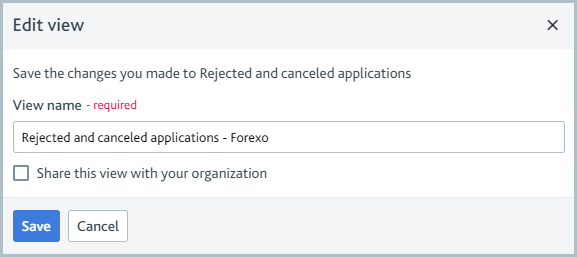
icon.Rename the view. Choose the share option to share the view with everyone in your organization.

Select . Your view name is updated in the drop-down.