Enable SSO for your users
Configure single sign-on (SSO) on your account to enable your users to log in to Passfort using their credentials for their identity provider (like Azure Active Directory, Google SSO, and more).
Getting SSO for your Passfort account
SSO is an optional feature. Contact your account manager to learn more.
This will be the process:
You'll need to create an app on your identity provider for a SAML 2.0 connection. Contact your identity provider for more information about how to do this.
If you would like to assign permissions to your users automatically based on their identity provider groups, create a single custom attribute for your users that contains the list of each user's group IDs. The IDs need to be sent in a way that we can map them to a comma-separated list of strings.
Provide us with the accepted domains from which your users will sign in.
We'll also need the following information about the app you created previously:
Identity provider issuer URL
Identity provider single sign-on URL
Identity provider signature certificate (using SHA-256)
Destination URL (optional)
You'll also need to provide the names of the user attributes you're using on your identity provider so we can map them:
email address, for example, subjectNameId
first name
last name
custom teams (optional)
We'll complete the configuration on our side, and send you some metadata so you can complete the configuration on your side.
Note
By default, all your users will log in using SSO. If you'd like a user to have a regular login experience without SSO, add them by following the standard steps to add a user.
Adding an allow list
When you enable allow-listing, only requests coming from an IP address that's on your authorized list will be able to log into your account's portal and make calls to your API.
If you'd like to use allow listing, you should enable it through Passfort's IP allow listing area and avoid using Okta's allow-listing feature. Otherwise, both allow lists will apply for SSO logins and unexpected behavior may occur.
Logging in with SSO
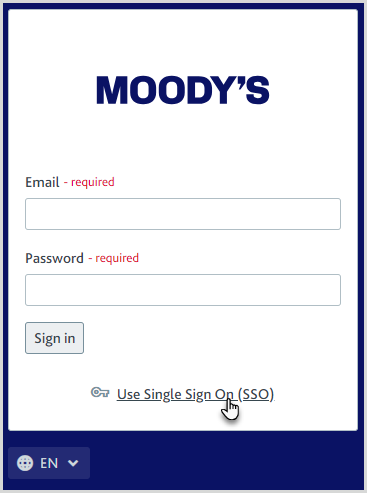
When you have SSO configured on your account, your users will be able to log in with your identity provider with the option on the login screen.

Each time a user logs in, their name and teams are updated with the details from your identity provider.
If the user is logging in for the first time, their email address will be added to your Passfort account, making them a Passfort user that you can see and manage from the User Management tab.
If the user belongs to any groups on your identity provider and you've linked those groups to Passfort teams, the user will be added to the teams automatically. They'll be able to access the areas of your account based on the team roles.
Caution
If the user does not belong to any groups or if you haven't linked the groups to Passfort teams, the user won't have any user roles or team roles when their account is created. This means they won't be able to access any area of your Passfort account until you manually assign roles from the User Management tab.
Users are signed out of Passfortautomatically after 30 minutes of inactivity.
Don't have SSO yet?
If you have not enabled SSO, you can create accounts for your users from Passfort's User Management tab, using exactly the same email addresses you plan to use for SSO. Remember to assign user roles or team roles so they have access to the appropriate areas of Passfort.
Users will be able to use the Email and Password fields on the login screen.
When you're ready to enable SSO, check the User Management tab to ensure:
The email addresses here are exactly the same as the ones you're using for SSO. If they're not, update them now.
All users have the correct permissions, including ensuring that your identity provider groups are linked to Passfort teams.
Once this is done and you have SSO enabled, ask your users to log in with the option.
When a user logs in with SSO, their login credentials are converted to SSO. From this point forward, the user must always log into Passfort using their SSO details. If they try to log in with the Email and Password fields, they'll see a message that says Email address or password did not match. Try again, or contact us for help.
The user will be automatically added to any Passfort teams which are linked to identity provider groups enabled for their SSO account. They'll be able to access the areas of your account based on the team roles. Any pre-existing teams and roles are removed.
Where possible, we recommend using identity provider groups linked to Passfort teams. However, if the user does not have groups assigned to them or those groups have not been linked to Passfort teams, the user will keep the same teams and roles that they had before SSO. Activity within the Passfort account, including audit history, is not affected by the change to login credentials.
Managing users with SSO enabled
You can see all users in Passfort by going to > .
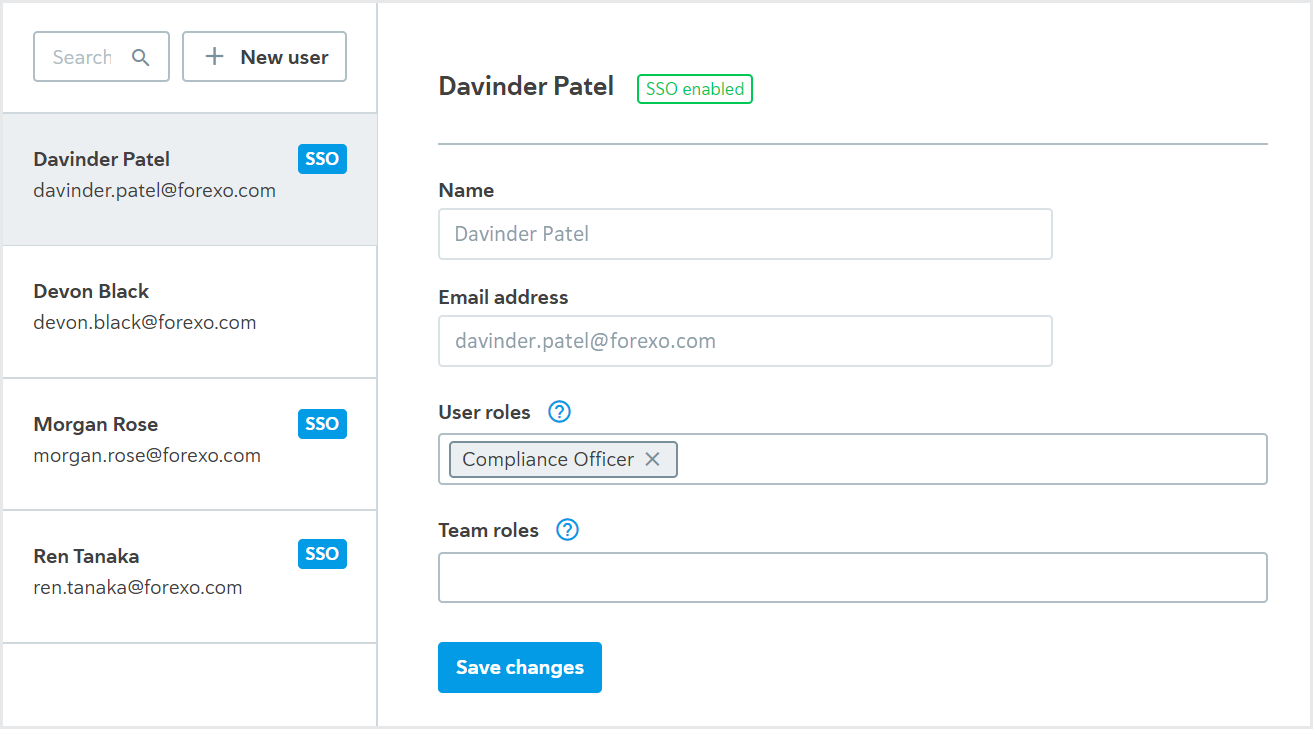
The SSO users have SSO enabled displayed next to their name.

Manage roles for users with SSO
Roles determine what users can see and do in Passfort.
For example, you could have a Compliance officer role that provides users with access to onboard and monitor all products or an Institution admin role that provides users with access to the Billing area.
Roles can be assigned on a team basis or a per-user basis.
By default, new SSO users on your account won't have any roles, which means they won't have access to any area of your account.
Assigning roles automatically
To assign roles to SSO users automatically, link the groups on your identity provider to teams in Passfort and add team roles.
When an SSO user creates an account in Passfort, they'll be added to any teams linked to their identity provider groups and assigned the team roles accordingly.
Each time the user logs in after that, their teams will be updated to reflect any groups they've been added to or removed from on your identity provider.
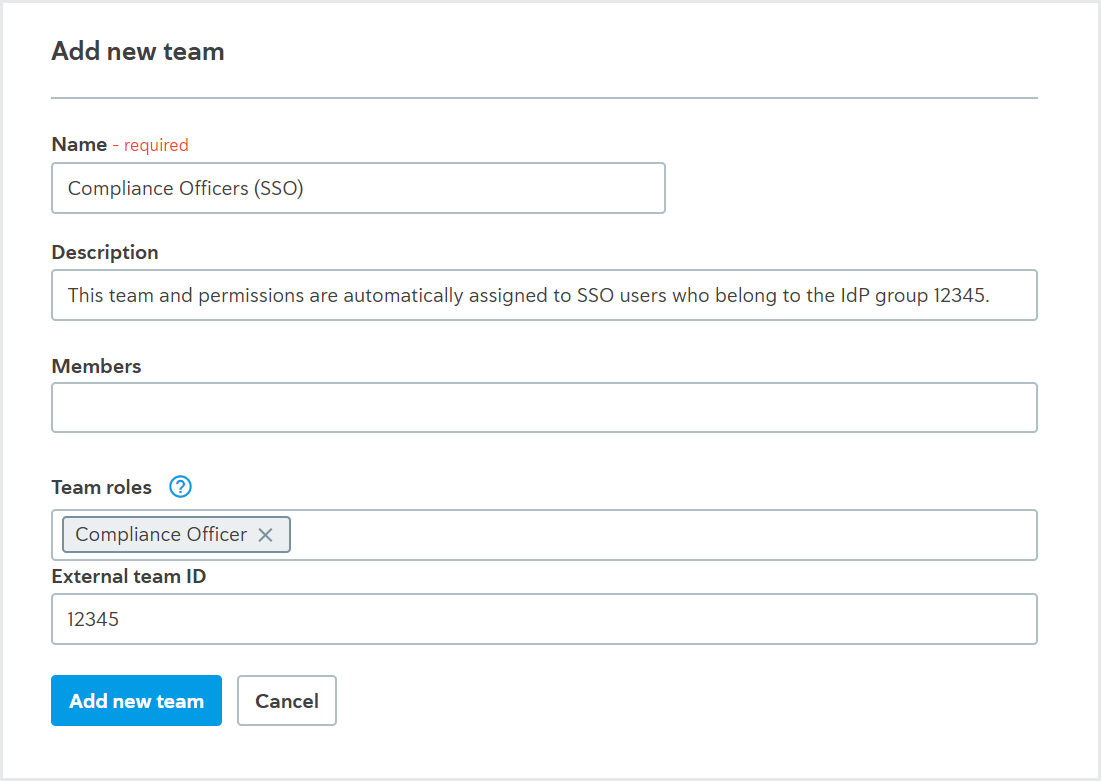
To create a linked team, follow the steps to add a team and ensure you include these options:
In the External team ID field, add your identity provider group's ID or name. Note that these are case-sensitive.
In the Team roles field, add the roles you want to assign to users from the identity provider group.

Assigning roles manually
To manually assign roles to a user that are independent of a team:
Go to > .
Select the user.
Add the roles to the User roles field.
It is not possible to assign teams via the Team roles field from here. To manage teams, see the steps for assigning roles automatically.
Change an SSO user's password
Change a user's password via your identity provider.
Deactivate/reactivate an SSO user
You should deactivate and reactivate users via your identity provider and also via Passfort. Follow these steps to deactivate or reactivate a user in Passfort.