Work with profile Files
Files is a central area where you can see all the files and documents you're using for onboarding and monitoring a profile in Passfort.
You can also easily copy a link to share it with people who have permission to view the profile.
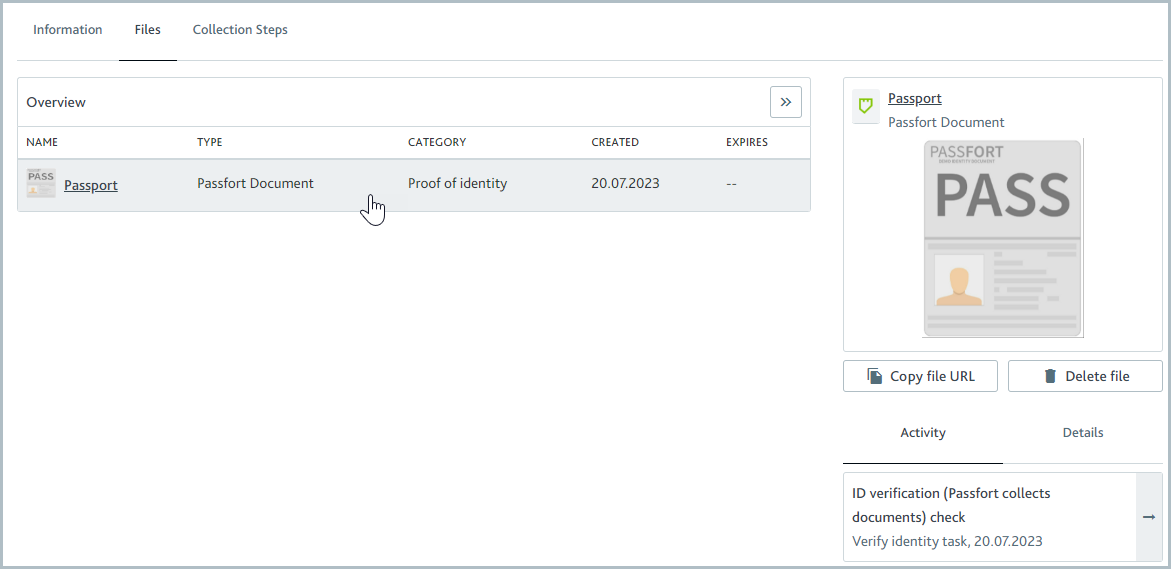
See the Files Overview
Go to any profile and go to .

You'll see every file and document for the profile. This includes files and documents:
Used to run checks.
Collected via forms completed by a Passfort user or a customer.
Added to Conversations.
Added to task notes.
The following information is displayed for each one:
Name: The name of the file/document.
Type: This is the type of file/document. To learn more, see Passfort documents vs files.
Category: If the document has a category, it's displayed here.
Created: The date the file/document was added to Passfort.
Expires: If an expiry date was extracted during a check, it's displayed here. Expiry information is only extracted from Passfort documents.
Why are multiple copies of the same file/document displayed? Each time a file or document is added to Passfort, it's displayed as a new item in Files. The name is whatever the item had when it was added; it is not possible to change names. This means that if the same item was added twice or two items with the same name are added, they may appear to be duplicates. You can find out when and how an item was used by selecting the file name. To learn more, see Get more information about a file/document.
Passfort documents vs files
There are two types of items you can add to Passfort:
Files: Files can be one of these file types: PDF, JPEG, PNG, or GIF. They can be added to task notes, Conversations, or collected via forms. The "type" in Files is determined by the file extension. For example, when the extension is PNG, the type is Image. If the file extension cannot be detected, Other is used as the type. Note that files cannot be used to run checks.
Passfort documents: Passfort documents can be used as input to run checks, for example, in the case of the ID verification check, or returned as output from checks, for example, when the Company data check is used to assess financials. They can be multiple related items bundled together, for example, an ID and the liveness video used to support it, and can contain additional metadata, for example, an expiry date or the type of company financial report. This metadata is typically set by the data provider when the check is run. When you view them in Files, the type is Passfort document.
Forms with the Document check type collect Passfort documents. All other form types collect files.
Get more information about a file/document
To learn more about a file or document, open it.
A panel is displayed with a small preview of the file or document as well as further information about the activity and file/document details.
Navigating the preview
If there are multiple pages, sides, or images, use the Previous and Next  buttons to navigate between them in the small preview.
Activity and Details
Activity shows how the item was used to onboard and monitor the profile. For example, it may indicate that it was used to run a specific check or mentioned in Conversations. Select the activity type to jump to the relevant location(s) in the profile, for example, the task(s) where the check results are displayed or the Conversations area.
Details provides more specific information about the type, creation date, and expiry date that are displayed on the Overview, plus it shows who added the file to Passfort.
If the item was used in an ID verification check with manual verification, there will be two instances of the ID verification check in the Activity. When you go to the task, you'll only see one instance where the check was run. This is because the first instance is hidden. Learn how to copy the URL to share the file/document.
See a file/document
To see a full view of a file or document:
Select the item to open the details panel.
In the panel, select the item name. The full view is displayed.
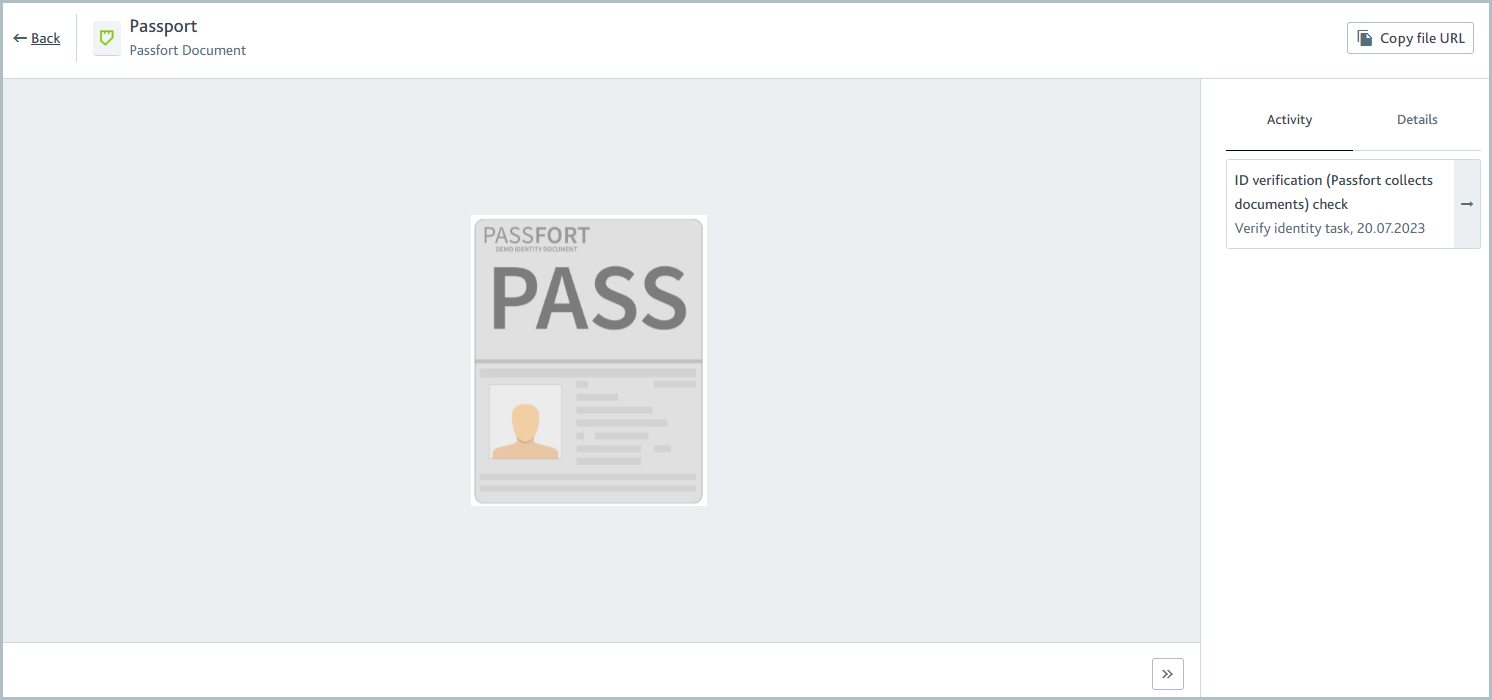
If there are multiple images in a document, use the Previous and Next  buttons to navigate between them.
To collapse the Activity and Details panel, select the Hide  button.
Learn more about Activity and Details or how to copy the URL to share the file/document.
Share a file/document
Each file and document has a unique URL which you can share.
To get the URL, go to and select the file name to open the panel. Select .
Now you can paste the URL into an email, chat, or anywhere else that you'd like to share it.
The URL recipient will only be able to view the file/document if they have permission to see the profile. In other words, the recipient will need to be a Passfort user with permission to view one or more of the profile's product applications. You can also copy the URL from the full preview window.
Delete a file/document
When you have Read and write access for the Permanently delete files permission, you can delete files and documents.
Once a file or document has been deleted, it will not be possible to recover it via the Portal or the API.
To delete a file or document:
Select the item to open the details panel.
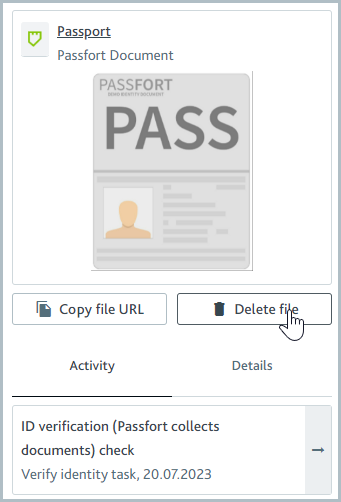
In the panel, select . The Delete file contents dialog is displayed. If the item is a document that has multiple content elements, for example, a passport with the front of the document and a selfie, each content element is selectable.
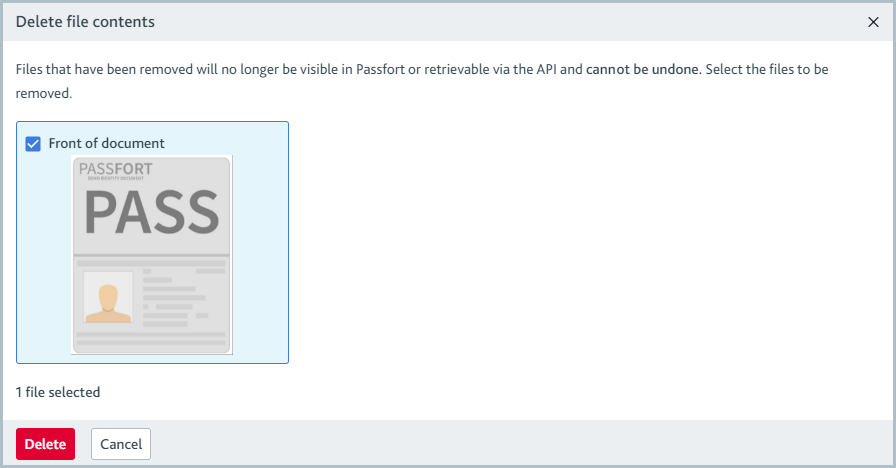
Select all the content elements you'd like to delete.
Select . The selected content elements are no longer displayed in the Portal and cannot be retrieved via the API. Any mentions of the file, for example, in the audit report, check results, or task notes, now say, "This file has been removed."
The file or document name, activities, and details are still displayed.
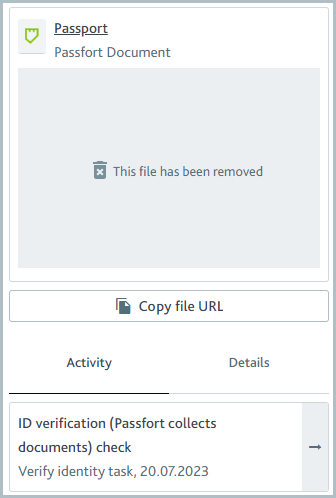
If you're using the Files deleted on a profile notification setting, you'll receive a notification to say the file is deleted.
It is not possible to delete files and documents via the API. If you try to retrieve a deleted file or document via the API, a 410 (Gone) status code is returned.